

Hey there! As a supplier of plasma cutting machines, I often get asked about how to replace the nozzle in a plasma cutting machine. It's a crucial part of maintenance that can significantly impact the performance and lifespan of your machine. So, let's dive right into it!
Why Replace the Nozzle?
First off, you might be wondering why you need to replace the nozzle in the first place. Well, over time, the nozzle in a plasma cutting machine wears out. The high - energy plasma arc that passes through it causes erosion, and debris can also build up inside. A worn - out nozzle can lead to poor cut quality, such as rough edges, dross formation, and inaccurate cuts. It can also increase the consumption of other consumables and even damage the torch if left unaddressed.
Tools You'll Need
Before you start replacing the nozzle, gather the necessary tools. You'll typically need a pair of pliers, a small wrench, and a clean, lint - free cloth. Make sure you also have the correct replacement nozzle for your specific plasma cutting machine model. You can find these nozzles in our store, and we offer a wide range of options suitable for different machines, including the Gantry CNC Plasma Flame Cutting Machine and the Flame Plasma Cutting Machine.
Step 1: Safety First
Safety is always the top priority when working with any machinery. Before you start the nozzle replacement process, turn off the plasma cutting machine and unplug it from the power source. This will prevent any accidental starts and keep you safe from electrical shocks. Also, make sure the machine has cooled down completely. The plasma arc generates a lot of heat, and the torch and nozzle can remain hot for a while after use.
Step 2: Remove the Shield Cap
The shield cap is the outermost part of the torch that protects the nozzle. Use your pliers or the small wrench to loosen and remove the shield cap. Be careful not to damage the cap or the threads on the torch. Once it's loose, you can usually unscrew it by hand. Set the shield cap aside in a clean place where it won't get dirty or damaged.
Step 3: Take Out the Old Nozzle
After removing the shield cap, you'll see the old nozzle. It's usually held in place by a retaining nut. Use the wrench to loosen the retaining nut. Once the nut is loose, you can remove it by hand. Then, gently pull the old nozzle out of the torch. You might notice that the nozzle is quite dirty or has signs of wear, like pitting or erosion. This is a clear indication that it's time for a replacement.
Step 4: Clean the Torch
Before installing the new nozzle, take a moment to clean the inside of the torch. Use the lint - free cloth to wipe away any debris, dust, or residue. A clean torch will ensure a proper fit for the new nozzle and prevent any blockages that could affect the plasma arc. Pay special attention to the area where the nozzle sits and the threads on the torch.
Step 5: Install the New Nozzle
Now it's time to install the new nozzle. Carefully insert the new nozzle into the torch, making sure it fits snugly. Then, put the retaining nut back on and tighten it with the wrench. Don't over - tighten the nut, as this can damage the nozzle or the torch. A good rule of thumb is to tighten it just enough to hold the nozzle securely in place.
Step 6: Replace the Shield Cap
Once the new nozzle is installed, put the shield cap back on. Screw it onto the torch by hand until it's finger - tight. Then, use the pliers or wrench to give it a final, gentle tightening. Make sure the shield cap is properly aligned and seated on the torch.
Step 7: Test the Machine
After replacing the nozzle, it's a good idea to test the plasma cutting machine. Plug it back in and turn it on. Check the plasma arc to make sure it's stable and that the cut quality is improved. If you notice any issues, such as a weak arc or poor cut quality, double - check that the nozzle is installed correctly and that the torch is clean.
Tips for Nozzle Maintenance
To extend the lifespan of your nozzles and keep your plasma cutting machine running smoothly, here are some tips:
- Use the Right Gas: Make sure you're using the correct gas for your plasma cutting machine. Different gases have different properties, and using the wrong one can cause premature nozzle wear.
- Keep the Machine Clean: Regularly clean the torch and the surrounding area to prevent debris from entering the nozzle.
- Monitor the Cutting Conditions: Avoid cutting at excessive speeds or with too much amperage, as this can put extra stress on the nozzle.
Conclusion
Replacing the nozzle in a plasma cutting machine is a relatively simple process that can have a big impact on the performance of your machine. By following these steps and taking good care of your nozzles, you can ensure that your plasma cutting machine continues to produce high - quality cuts for a long time.
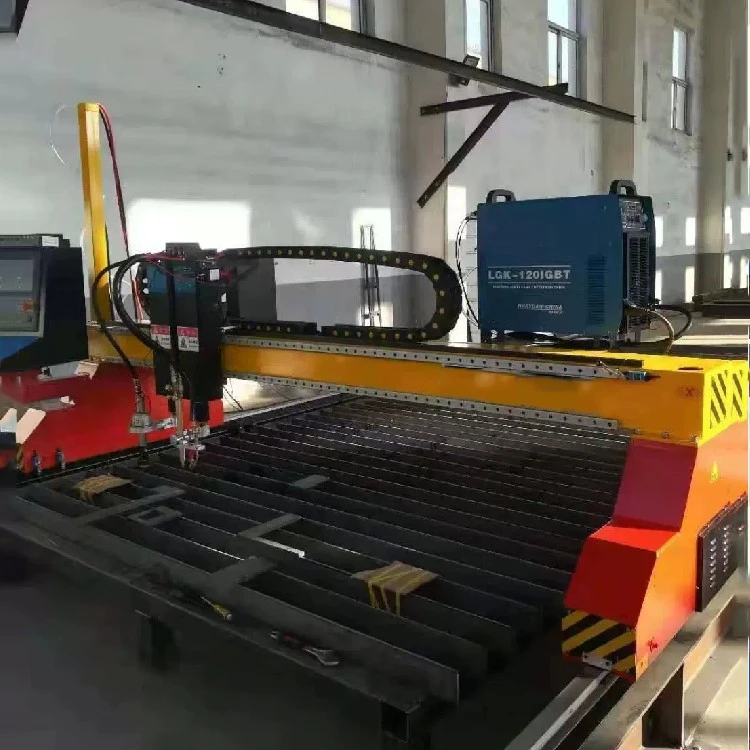
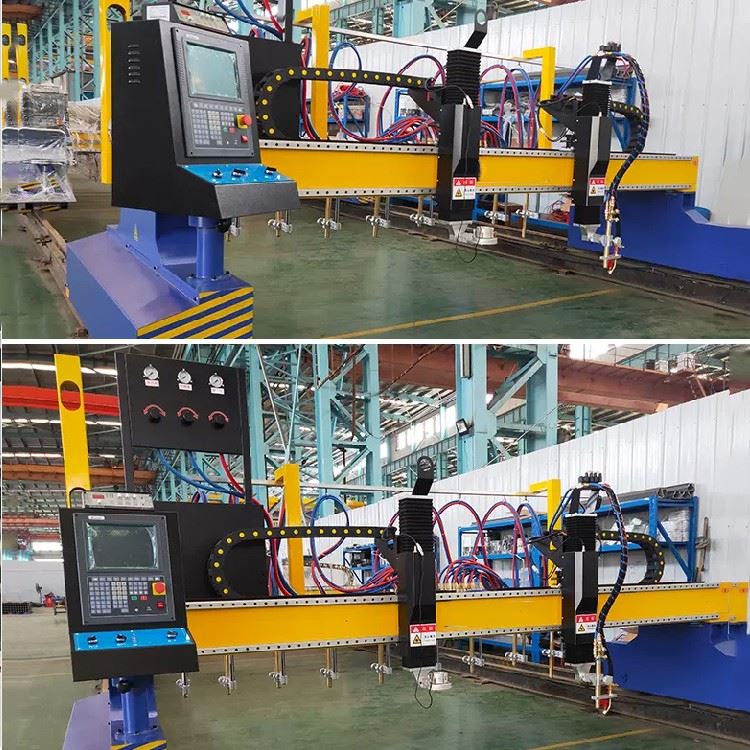
If you're in the market for a new plasma cutting machine or need replacement parts like nozzles, we're here to help. We offer a wide range of plasma cutting machines, including the Gantry CNC Plasma Flame Cutting Machine and the Flame Plasma Cutting Machine. Contact us for more information or to discuss your specific needs. We're always happy to assist you with your plasma cutting requirements.
References
- "Plasma Cutting Machine Operation and Maintenance Guide"
- Industry - specific manuals for plasma cutting machines


