As a trusted Laser Tube supplier, I understand the importance of precisely adjusting the power of a laser tube for optimal performance in various applications. Whether you're using a laser tube for cutting, engraving, or marking, the ability to control its power effectively can significantly impact the quality and efficiency of your work. In this blog post, I'll share some insights and practical tips on how to adjust the power of a laser tube.
Understanding the Basics of Laser Tube Power
Before delving into the adjustment process, it's essential to have a basic understanding of what laser tube power means. The power of a laser tube is typically measured in watts (W) and represents the amount of energy the tube can emit as laser light. Higher power generally allows for faster and deeper cuts or more intense engravings, but it also consumes more energy and may require additional cooling.
The power output of a laser tube can be influenced by several factors, including the type of gas mixture inside the tube, the electrical current supplied to the tube, and the condition of the tube itself. Over time, the power output of a laser tube may decrease due to factors such as gas depletion, electrode wear, or contamination.
Factors Affecting Laser Tube Power
Gas Mixture
The gas mixture inside a laser tube plays a crucial role in determining its power output. Different gases, such as carbon dioxide (CO2), nitrogen (N2), and helium (He), are used in specific proportions to create the laser beam. The composition of the gas mixture can affect the efficiency of the laser generation process and the overall power output of the tube.
Electrical Current
The electrical current supplied to the laser tube is directly proportional to its power output. By adjusting the current, you can increase or decrease the power of the laser beam. However, it's important to note that exceeding the maximum rated current of the tube can cause damage and reduce its lifespan.
Tube Condition
The condition of the laser tube, including its age, usage history, and maintenance, can also impact its power output. Over time, the electrodes inside the tube may wear out, and the gas mixture may become depleted or contaminated. Regular maintenance, such as cleaning the tube and replacing the gas mixture, can help maintain optimal power output.
Steps to Adjust the Power of a Laser Tube
Step 1: Consult the Manufacturer's Manual
Before attempting to adjust the power of your laser tube, it's crucial to consult the manufacturer's manual. The manual will provide specific instructions and guidelines for your particular laser tube model, including the recommended power range, adjustment procedures, and safety precautions.
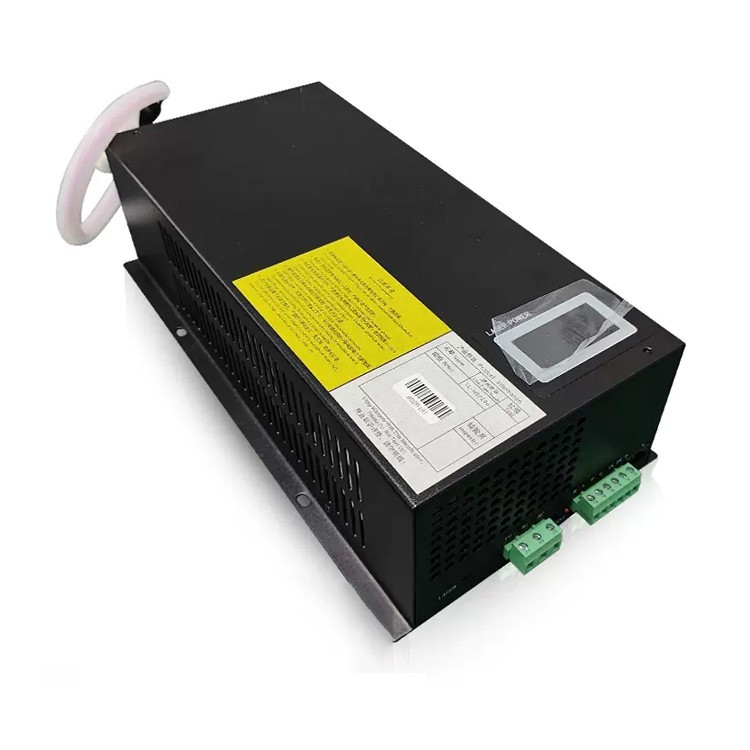

Step 2: Check the Laser Power Supply
The Laser Power Supply is responsible for providing the electrical current to the laser tube. Ensure that the power supply is properly connected and functioning correctly. Check the voltage and current settings on the power supply and make sure they are within the recommended range for your laser tube.
Step 3: Use a Power Meter
To accurately measure the power output of your laser tube, you'll need a power meter. A power meter is a device that measures the intensity of the laser beam and provides a numerical reading of the power output in watts. Place the power meter in the path of the laser beam and follow the manufacturer's instructions to take a measurement.
Step 4: Adjust the Current
Once you have measured the power output of your laser tube, you can adjust the current supplied to the tube to achieve the desired power level. Most laser power supplies have a current adjustment knob or potentiometer that allows you to increase or decrease the current. Make small adjustments to the current and re-measure the power output until you reach the desired level.
Step 5: Monitor the Power Output
After making adjustments to the current, continue to monitor the power output of the laser tube using the power meter. It's important to ensure that the power output remains stable and within the recommended range. If the power output fluctuates or deviates from the desired level, you may need to make further adjustments or check for other issues.
Tips for Optimal Laser Tube Power Adjustment
Start with a Low Power Setting
When adjusting the power of your laser tube for the first time, it's recommended to start with a low power setting and gradually increase the power until you achieve the desired results. This will help prevent damage to the tube and ensure that you don't exceed its maximum rated power.
Make Small Adjustments
When making adjustments to the current, it's important to make small, incremental changes. Large adjustments can cause the power output to fluctuate or exceed the maximum rated power of the tube, which can lead to damage and reduced lifespan.
Monitor the Temperature
The temperature of the laser tube can also affect its power output. As the tube heats up, its power output may decrease. It's important to monitor the temperature of the tube using a temperature sensor or infrared thermometer and ensure that it remains within the recommended range. If the temperature exceeds the recommended range, you may need to increase the cooling or reduce the power output.
Perform Regular Maintenance
Regular maintenance is essential for maintaining optimal power output and extending the lifespan of your laser tube. This includes cleaning the tube, replacing the gas mixture, and checking the electrodes for wear. Follow the manufacturer's recommendations for maintenance and schedule regular inspections to ensure that your laser tube is in good condition.
Troubleshooting Common Power Adjustment Issues
Low Power Output
If you're experiencing low power output from your laser tube, there could be several possible causes. Check the gas mixture to ensure that it is at the correct level and composition. Inspect the electrodes for wear or damage and replace them if necessary. Also, check the power supply to ensure that it is providing the correct voltage and current.
High Power Output
If the power output of your laser tube is too high, it could be due to a faulty power supply or incorrect current settings. Check the power supply settings and make sure they are within the recommended range. If the problem persists, you may need to have the power supply tested or replaced.
Fluctuating Power Output
Fluctuating power output can be caused by a variety of factors, including a loose connection, a faulty power supply, or a problem with the laser tube itself. Check all the connections to ensure that they are tight and secure. Inspect the power supply for any signs of damage or malfunction. If the problem persists, you may need to have the laser tube tested or replaced.
Conclusion
Adjusting the power of a laser tube is a critical skill for anyone using a laser cutting or engraving machine. By understanding the factors that affect laser tube power, following the proper adjustment procedures, and performing regular maintenance, you can ensure optimal performance and extend the lifespan of your laser tube.
As a Laser Tube supplier, I'm committed to providing high-quality products and expert support to our customers. If you have any questions or need assistance with adjusting the power of your laser tube, please don't hesitate to contact us. We're here to help you get the most out of your laser equipment.
If you're interested in purchasing a Laser Tube or other laser machine parts, such as a CO2 Cutting Head, please feel free to reach out to us for more information. We offer a wide range of products to meet your specific needs and provide competitive pricing and excellent customer service.
References
- Laser Tube Manufacturer's Manual
- Laser Power Supply Manufacturer's Manual
- Power Meter Manufacturer's Manual


